Review: Netatmo weather station-Accurately measure air quality, temperature, CO2, rain and wind
The weather is one of the most favorite topics of conversation for most people. Often a social chat starts about the many rain that has fallen or how nice the sun is shining that day. Many people have a weather station in their home. This can be an oak version with analogue meters for temperature and air pressure or a digital version with an LCD screen.
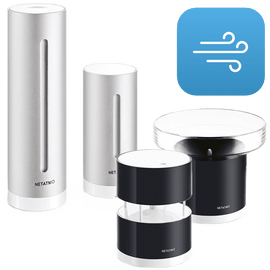
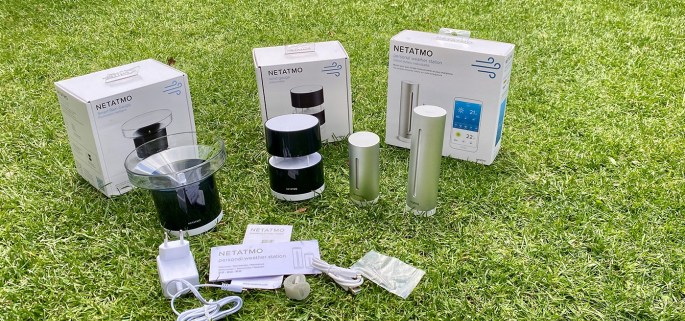
Of course there is also a ‘modern’ variant of the weather stations that is completely up to date. The Netatmo Smart Weather Station is a weather station that uses various indoor and outdoor modules that allow you to monitor the weather and the living and air quality in your home.
Netatmo Smart Weather Station
The basis of the Netatmo weather station consists of an indoor module and an outdoor module . The indoor module gives you insight into the air quality, temperature, humidity and sound quality (measured in dB).
With the help of the outdoor module, you can measure the temperature, humidity, air pressure, air quality outside. In addition to the indoor and outdoor module, there is also a rain and wind meter available that you can connect wirelessly to the (basic) indoor module.
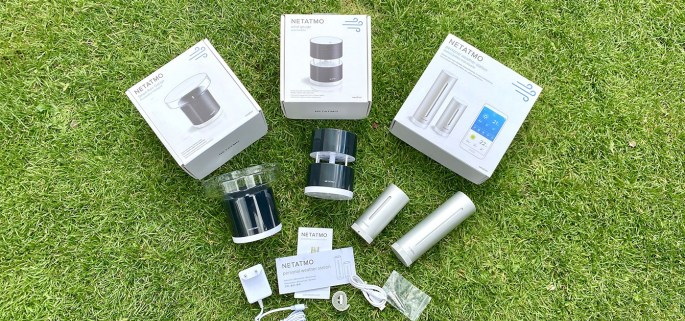
Precipitation is measured by the rain gauge with the help of two collection containers in the module. The rainwater makes these containers tumble and a magnet in the tilting mechanism registers the number of tilts.
The anemometer is equipped with four ultrasonic sensors that continuously send and receive a signal. The fluctuations of the values received back are used to determine the wind speed and direction.
All measurements collected by the indoor and outdoor modules can be viewed using the Netatmo Weather app for iOS (and Android).
First impression
Both the indoor and outdoor modules have a sleek design, as we are used to from Netatmo. Both modules have a sturdy aluminum housing. Due to the neutral sleek design, the modules can be placed anywhere and they do not stand out in your interior or garden. Visual feedback can be given via the slot on the front of the indoor module. For example, it turns red if the carbon dioxide level is too high.
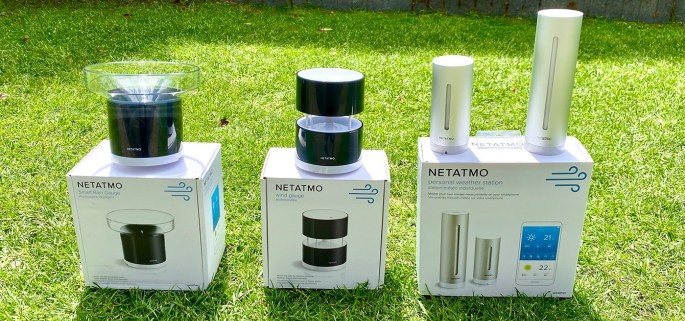
The rain sensor and anemometer are made of strong ABS plastic and do not have the luxurious look of the indoor and outdoor module. Because both have to be placed outside at a certain height, this is no problem. From a distance, these modules also look fine.
Placement of the modules
The placement of the various (outdoor) modules requires the necessary attention. The sensors present in the different modules provide the most reliable measurement results under certain conditions, at a certain height and in a certain position. You can place the various modules up to a maximum of 100 meters from the indoor module, however, this depends on the construction of your house and other environmental factors.
Before you start installing the outdoor modules, it is advisable to first connect them to the indoor module using the app, more about this later.
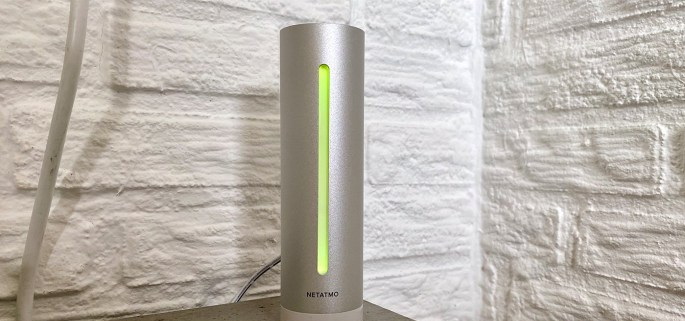
The placement of the indoor and outdoor module is quite simple. The indoor module is the central hub with which the other modules communicate wirelessly in order to transmit their measurement data. The indoor module requires AC power to operate and should therefore be placed near a power outlet.
Since the indoor module is also equipped with sensors, it is not wise to place it near a heater, direct sunlight or in the immediate vicinity of electrical equipment that emits heat, such as an OLED television.
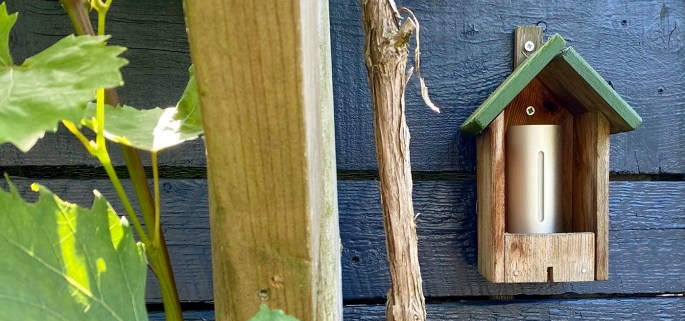
The outdoor module operates on two AAA batteries and is best placed under a roof or canopy. In any case, avoid direct sunlight and make sure that the outdoor module is somewhat protected against rain. We have placed the outdoor module in a bird house, so that it does not hang directly in the sunlight and rain.
Placing the wind and rain gauge is a bit more difficult because you have to take into account a number of requirements. Netatmo gives recommendations for the placement of the modules, these are aimed at achieving the most accurate measurement results. However, it will not be possible for everyone to use the most ideal location for a module. If you are going to use the weather station for professional purposes, it is advisable to take the recommendations strictly, for normal consumer use, these recommendations may be deviated from. Which of course results in less accurate measurements.
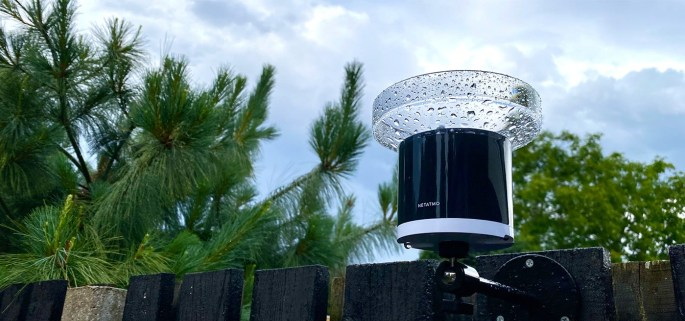
The rain sensor must be placed horizontally at a height of 50 to 150 cm above the ground. In addition, it is recommended to place the rain sensor at least 3 meters away from tall objects such as trees and houses. This is a challenge for an average garden in the Netherlands, so we placed the rain sensor on top of the fence.
For the anemometer it is recommended to place it at a height of 10 meters in an open environment. This will also not be feasible for everyone. If you place the anemometer lower than 10 meters, you can indicate the height in the app, this will automatically correct the measurements. In that case, the measurements are less accurate and less suitable for professional purposes.
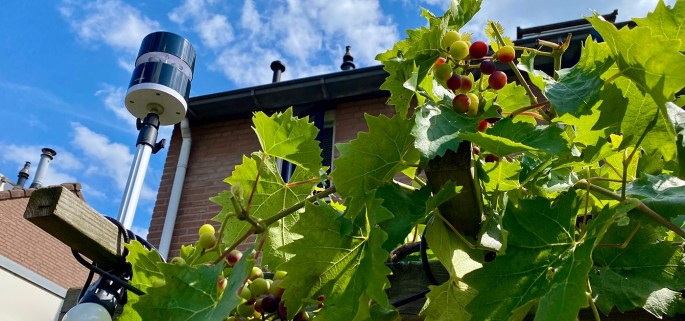
The rain and the anemometer are supplied without mounting bracket. You have to purchase these separately. Both meters are threaded (1/4-inch) which is also used by tripods and tripods. This makes it possible to mount both meters on a standard IP camera bracket.
Configure modules:Netatmo weather station
You need the Netatmo weather app to link the various modules and view the measurement results. This app is available for iOS and Android users. After creating an account you can start configuring your weather station.
In the app, the various modules can be linked to the indoor module by means of a few steps. It is possible that this does not work immediately the first time and that a second attempt is required.
You can provide the modules with their own name so that they are easy to recognize in the additional results. The app also offers the possibility to calibrate the various sensors. This includes calibrating the temperature measurements, setting the height of the anemometer and calibrating the rain gauge.
You can calibrate the rain gauge by pouring 100 ml of water very slowly into the rain gauge and counting the number of tilts of the receptacles. Then divide 100 by the number of tilts of the receptacles. You enter the result in the app in the calibration options.
By applying the above technique, drizzle may not be detected. In that case, the number of drops is probably too few for a good measurement, or the drops dry too quickly.
Netatmo weather app
The Netatmo weather app that you use to view the measurement results is a clear and well-arranged app. After starting the app, all information collected by the Netatmo indoor and outdoor modules appears immediately .
The top half of the screen shows the measurements from the outdoor module, including air quality (ozone), temperature, air pressure, air humidity, millimeters of precipitation, wind direction and strength.
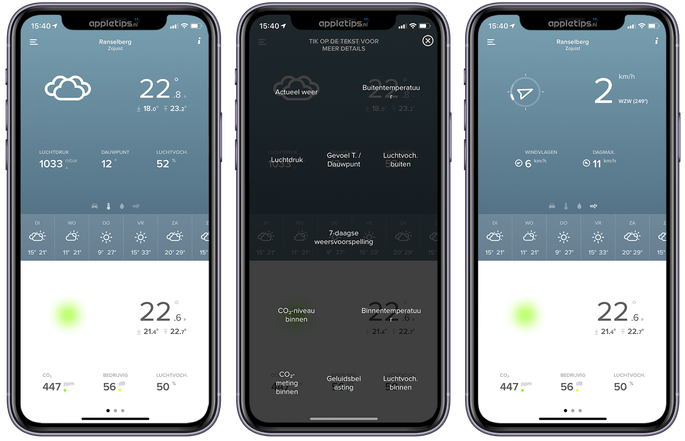
In the bottom half you see the measurements of the indoor module. These consist of the current temperature, quality of the air (CO2), humidity and the number of decibels of sound that has been measured in the room. The weather forecast for the current week is displayed in the middle of the screen, if you tap on this you get a more extensive view.
By tapping on the information symbol in the top right corner, an explanation appears on the screen of the different values.
Via the menu at the top left of the screen or by holding your iPhone horizontally, you will see the measurements in a graph view. In this view you can select a sensor such as air pressure and view the history of the measurements.
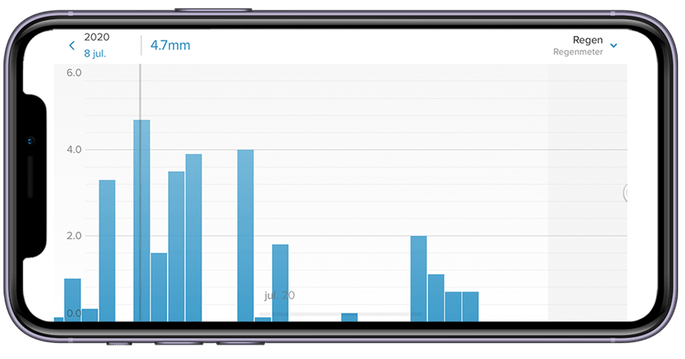
The menu in the app also gives you access to the weather map. This is a map view with all sensors that are present in your immediate vicinity. This allows you to compare the measurement data with that of other Netatmo weather station users.
The most important settings of the weather station can also be accessed via the menu in the app. Here you can edit the names of the modules and view their status, including the connection to the other modules and the battery. You also have the option to calibrate the various sensors here.
You can also invite other people to view the weather measurements via the Netatmo weather app.
Receive notifications:Netatmo weather station
The Netatmo weather app can also send you notifications when certain values are reached. There are 12 standard messages that you can activate or deactivate, such as a message when it starts to rain or when the carbon dioxide content in the room exceeds a certain value. In addition to the standard notifications, it is also possible to create notifications based on your own values.
You will receive the notifications within 10 minutes after a threshold has been reached. The indoor module processes the measurement data from the other modules once every 10 minutes. Because this refresh time is used, the outdoor modules have a battery life of at least 1 year.
An exception to the refresh time is the rain gauge. Data is only sent to the indoor module when this measures precipitation. If rain is detected, this will be notified immediately via a notification. This means you are exactly on time to collect the laundry on time.
If you do not want to wait for the next measurement, you can press the top of the indoor module. This forces a manual measurement, unfortunately this option is missing from the Netatmo weather app itself.
Homekit integration
The Netatmo Smart Weather Station also has support for Homekit. This function can be activated from the settings in the Netatmo weather app. After the link with Homekit, various sensors appear in the Home app for iOS and macOS.
The temperature and humidity values (inside and outside) can be viewed in the Home app. However, no automations can be activated on this within Homekit. This is possible on the basis of air quality and carbon dioxide. Consider, for example, switching off the heating when the carbon dioxide content in a room is too high.
The rain and wind meter are also visible in the Home app but cannot be used further. This is because Homekit does not (yet) support such sensors.If you want to be able to use all measurement data, you can choose to connect the weather station with the Athom Homey. This can use all measurement data for automations, unlike Homekit.
Conclusion:Netatmo weather station
Placing the outdoor modules can in some cases be a difficult job, especially in the case of the rain and wind meter. Once installed and set up, the Netatmo Smart Weather Station provides you with a very solid and reliable weather station.
It is a complete weather station that gives you a clear insight into everything that has to do with comfort and climate, both indoors and outdoors.
The user-friendly app gives you direct access to all measurement data after opening, if you tilt your iPhone you can view the history of the measurements. You can also log in to your weather station via the Netatmo website. You will then receive a nice overview of all your measurements in your web browser.
Something we do miss is the possibility to start a manual meeting from the app, for this you have to physically press the top of the indoor module. In addition, an institution to adjust the refresh time of the measurement data would have been welcome. But it is also understandable that a refresh time of 10 minutes has been chosen from the viewpoint of battery life.
The Netatmo Smart Weather Station is a great choice for anyone who wants to keep an eye on the climate outside and inside.


